
Every cuisine starts with a base of seasonings, and in Latin cooking, from Puerto Rico to Mexico to Spain, it all starts with sofrito. Forget mire poix or New Orleans trinity (it’s just a stripped down version of sofrito anyway).  I’ve found more and more ways to use this great flavor base and I try to always have a big batch in my freezer. Being able to throw a disk of frozen sofrito into the pan is a great way to bypass all the chopping for a sauce, a fast supper or an eat-it-when-you-get-home crockpot meal. I’ve used it as a base in dishes like chicken and yellow rice, and in homemade enchilada sauce, chili and black bean soup. I’ve even put it in pasta sauce and split pea soup; anywhere you want to make an ordinary dish something special. The great thing about sofrito is that it is so easy to make.
Every one’s mom or grandma has her own authentic sofrito recipe, but this is my version. You’ll need a blender or food processor and a frying pan (cast iron is the best), and some basic ingredients.
Basic Sofrito
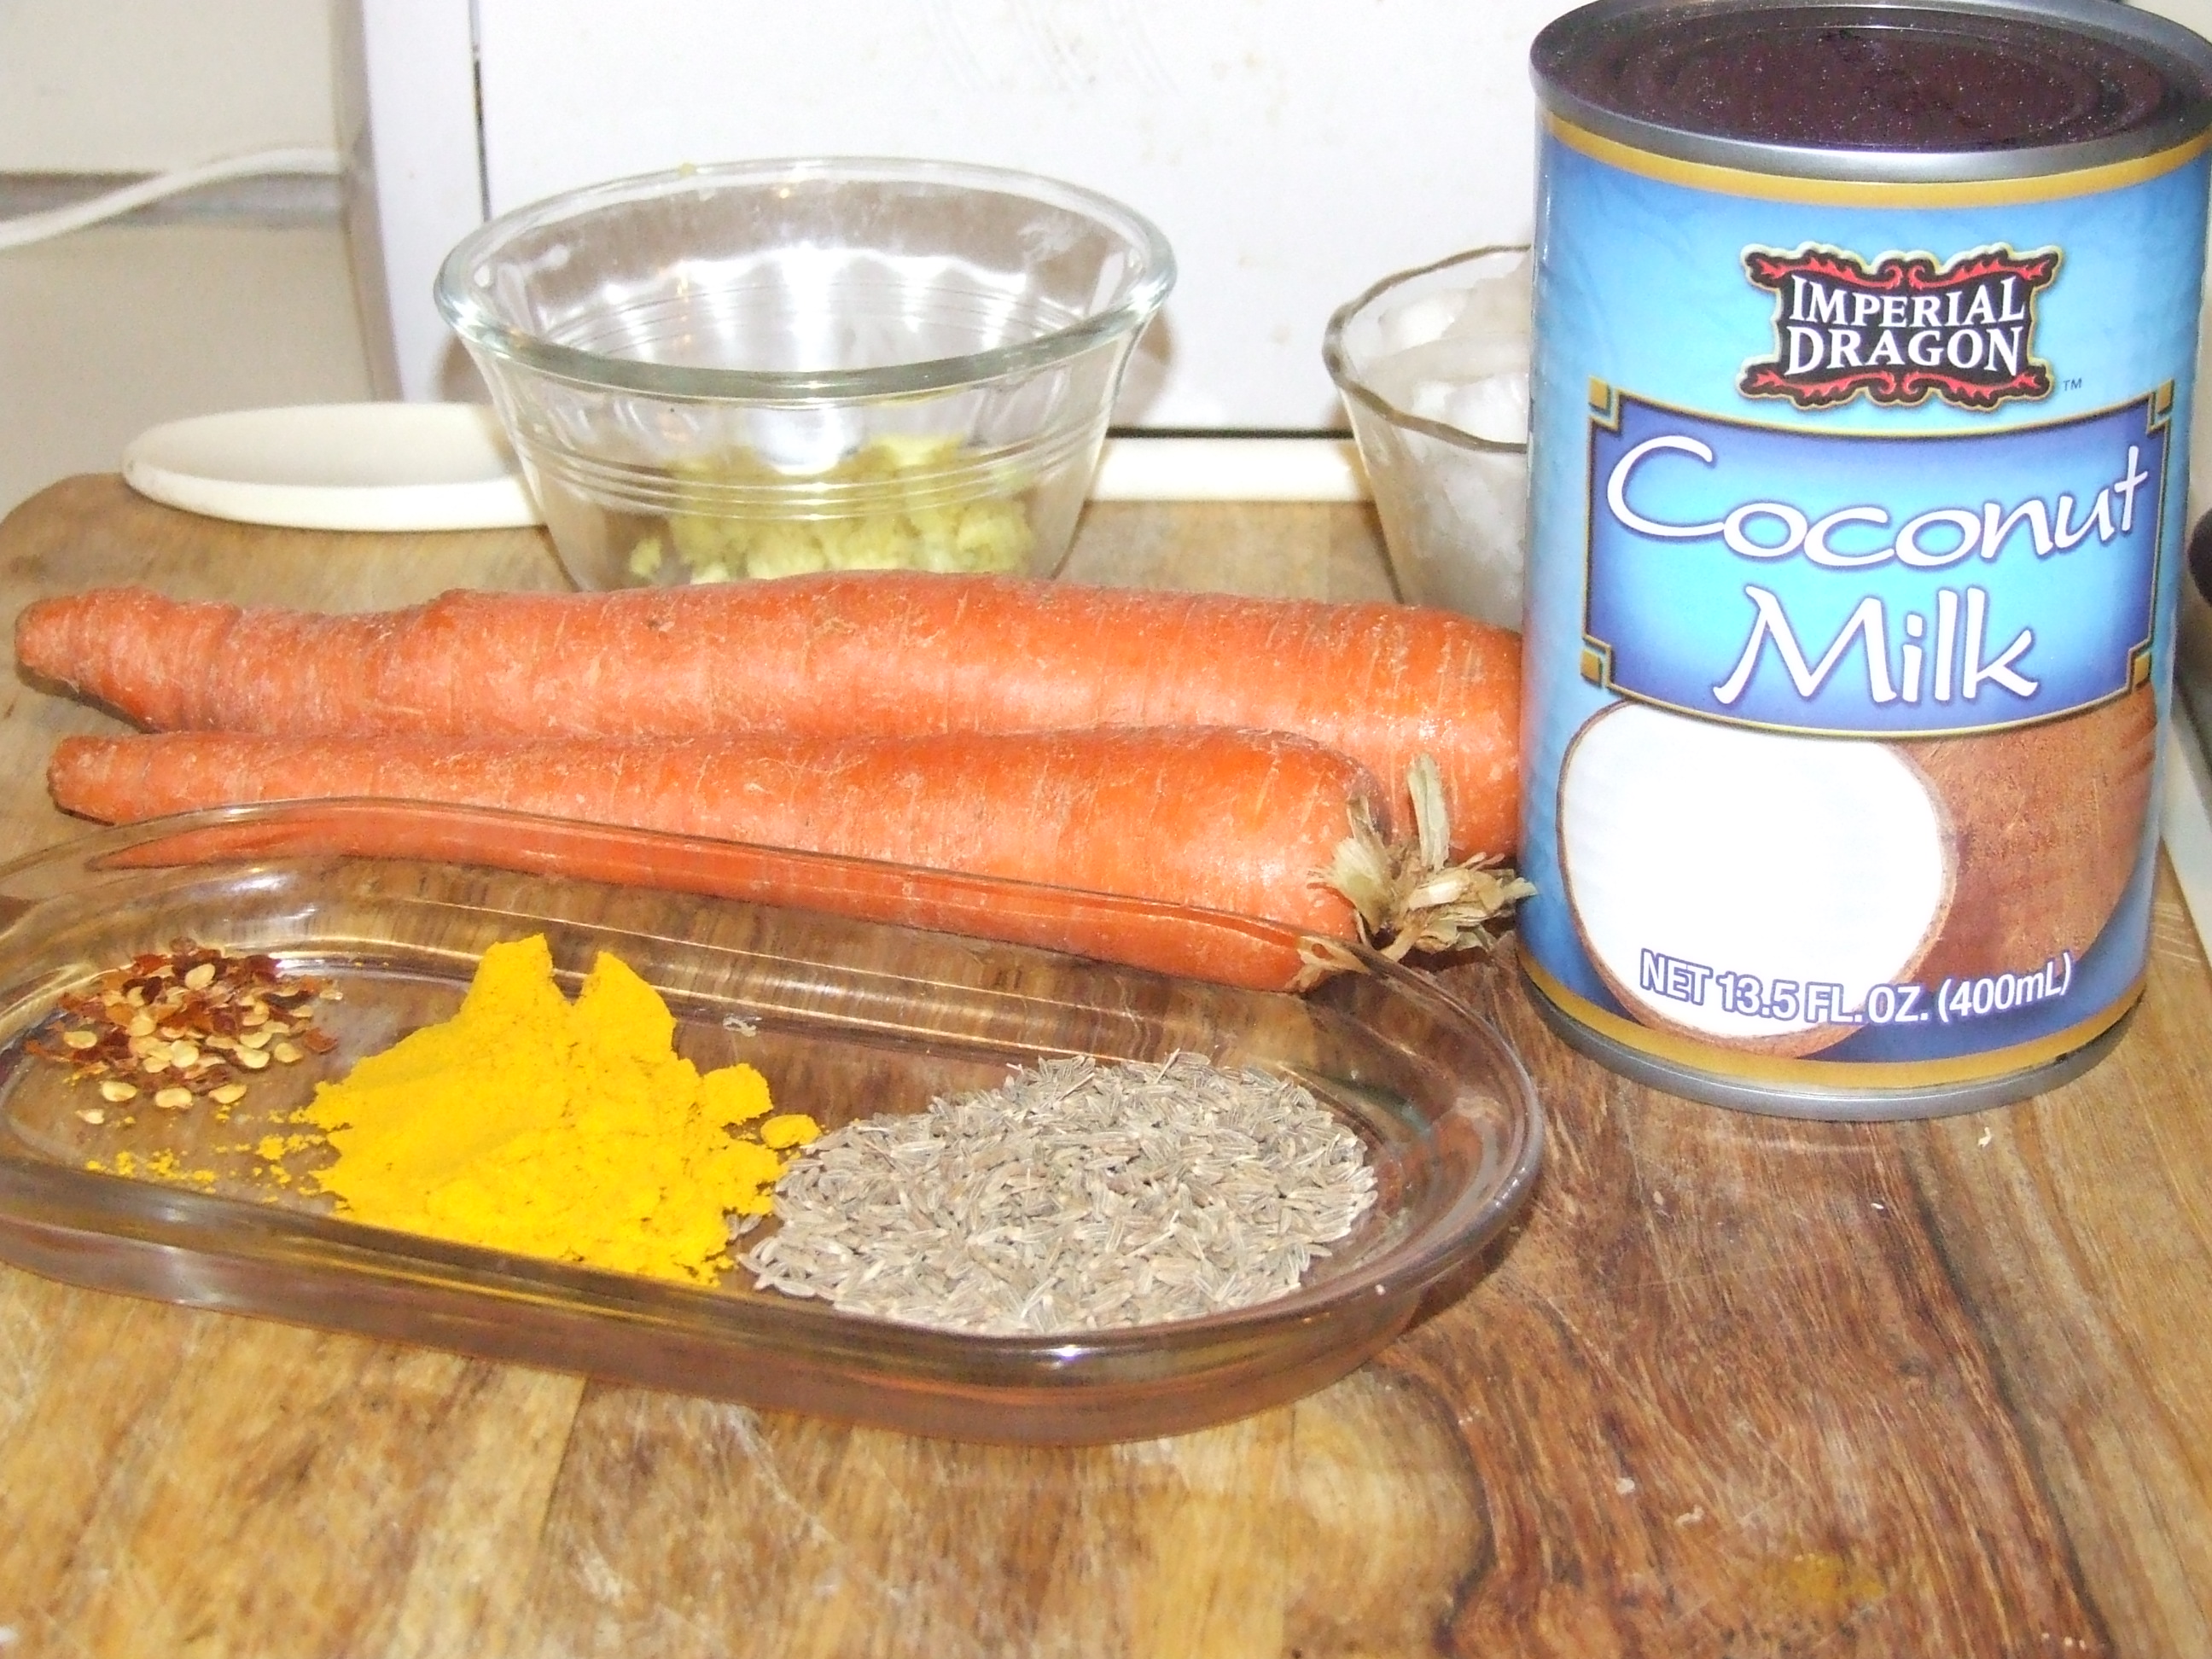
Ingredients
2 red bell peppers (you can also use the sweet red and yellow minis that come in a bag)
1 green bell pepper
2 poblano peppers
1 big sweet onion
8 cloves of garlic, peeled
2 bunches of fresh cilantro, chopped
1 bunch of culantro*
1 teaspoon ground cumin
1/2 teaspoon jalapeno powder (also called Texas gunpowder – I make my own)
Directions
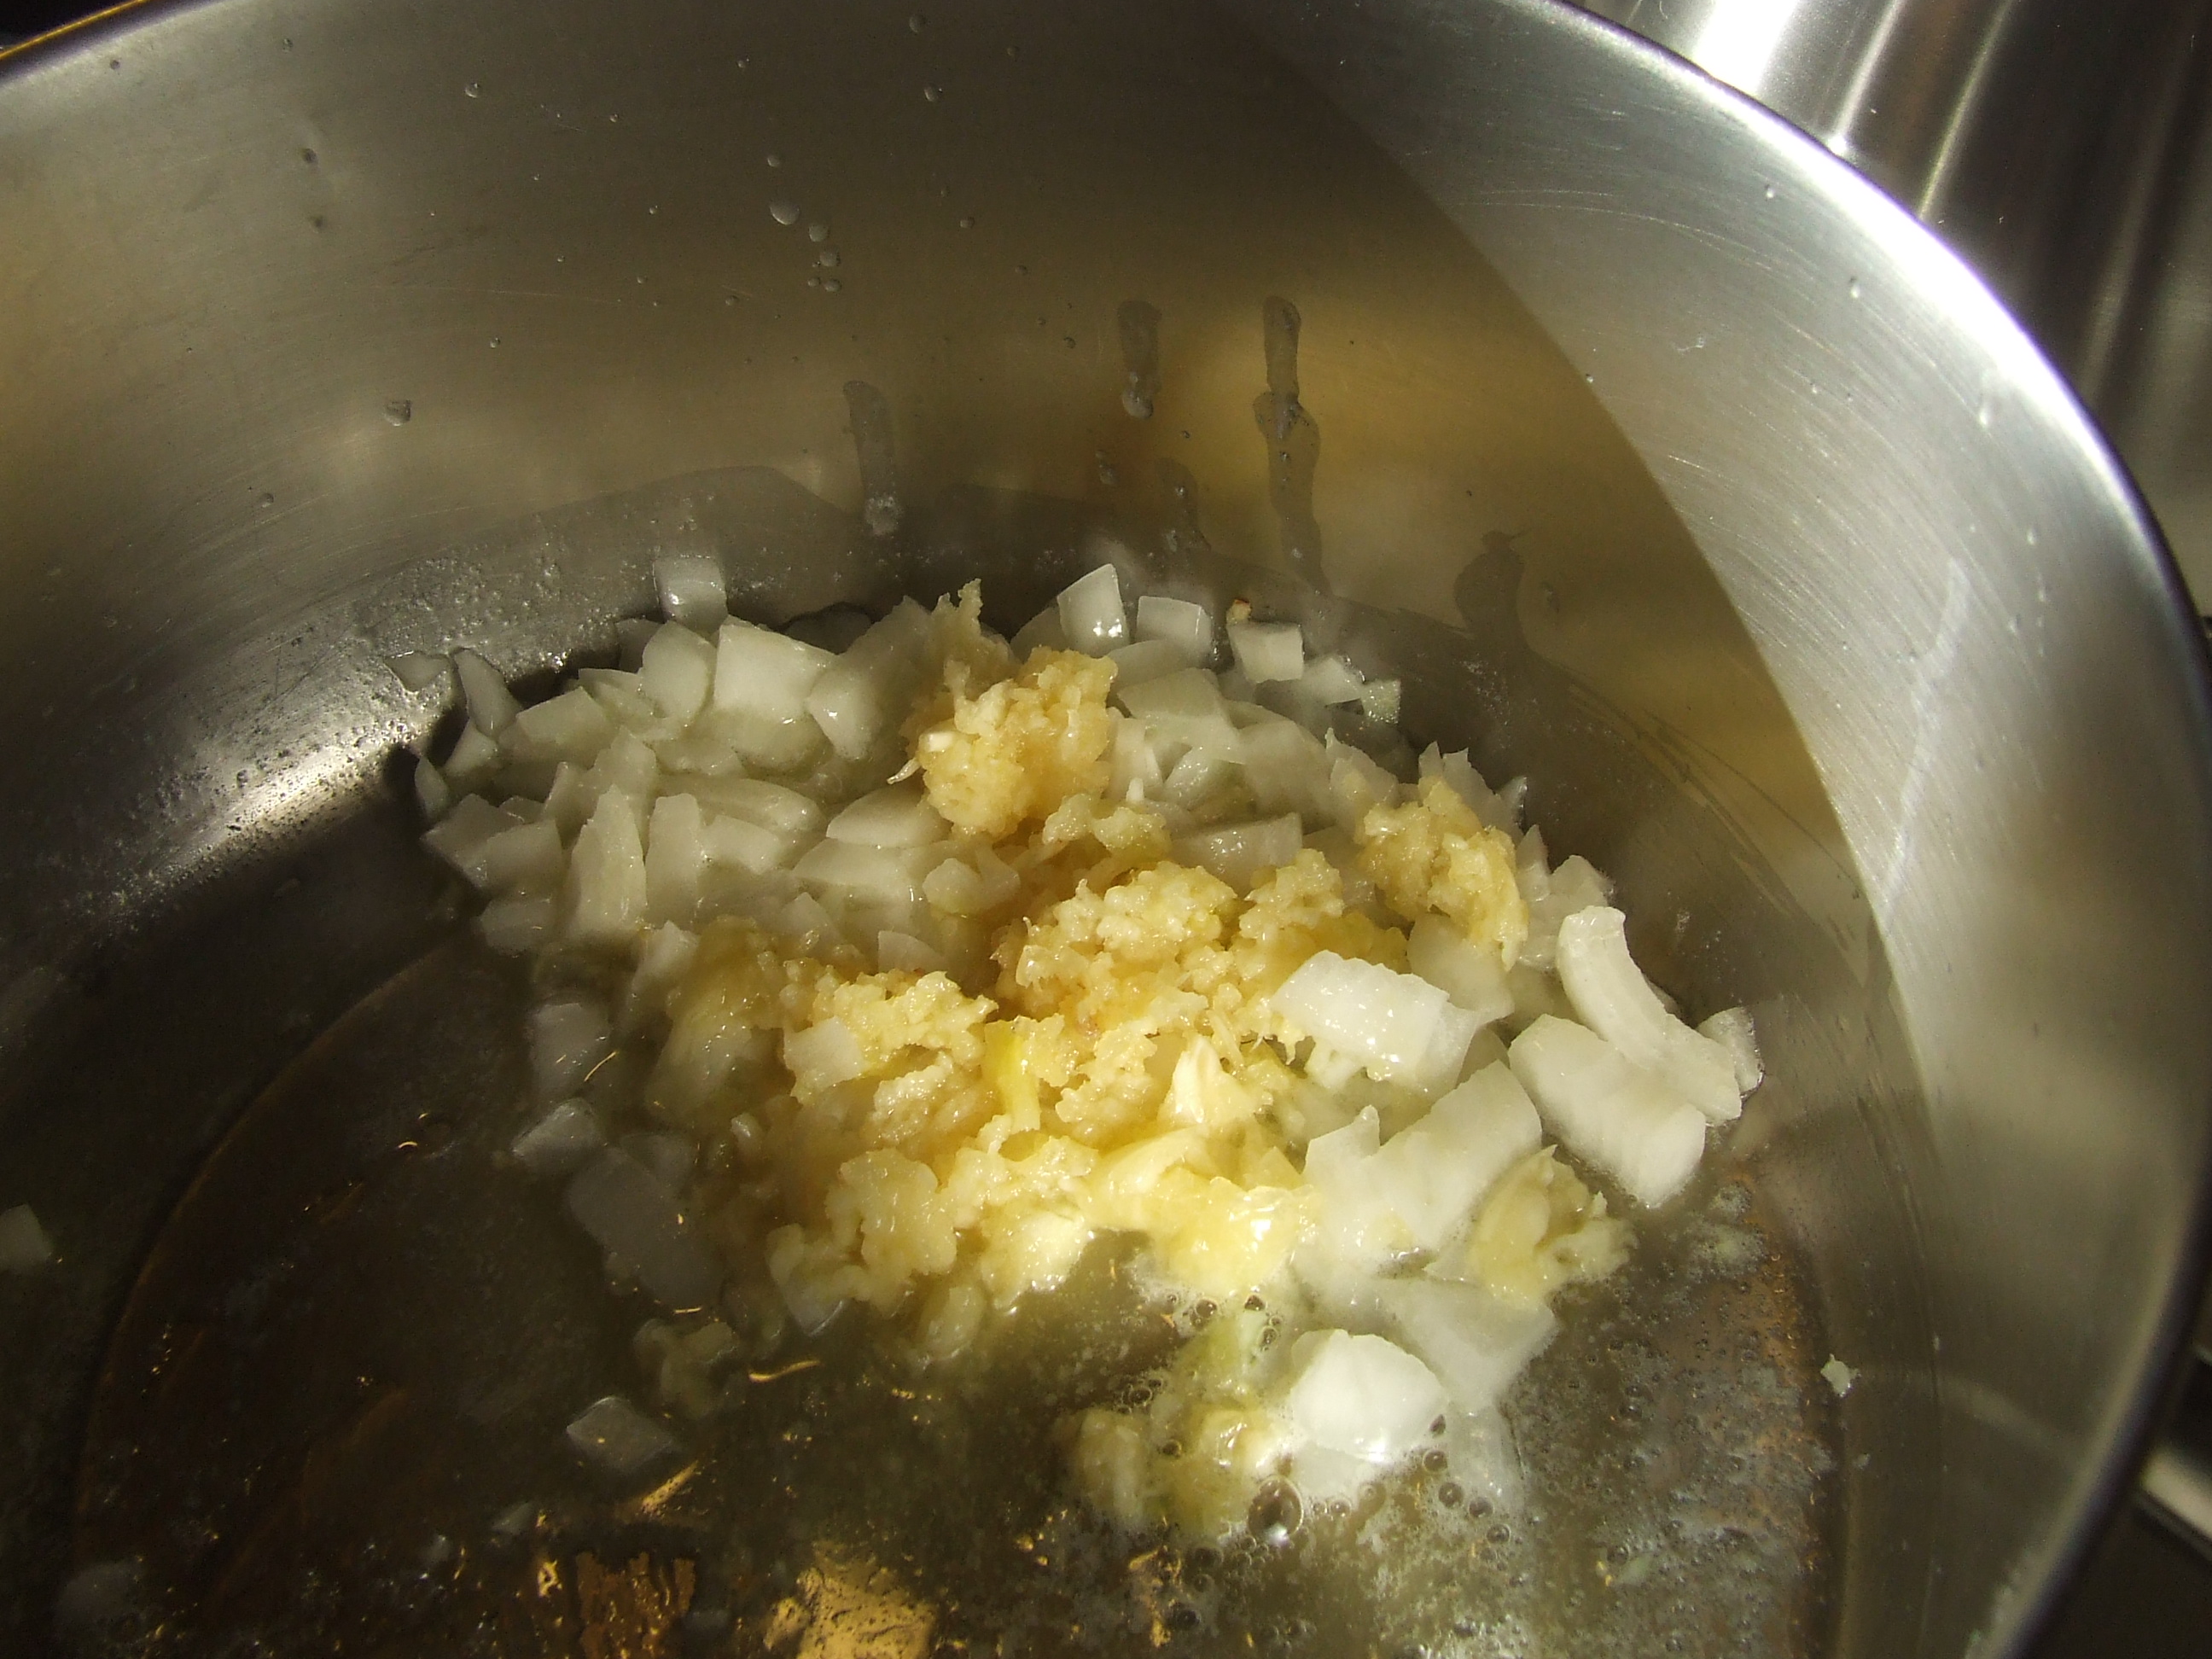
Rough chop the vegetables and place in the blender or food processor.

Process the mixture until it’s somewhat smooth but still has some chunkiness.  Heat your skillet and add 2 tablespoons of oil. Pour the mixture into the skillet, add the cumin and jalapeno powder. Notice I did not add any salt or pepper. I add those seasonings when I use them to prepare a dish.
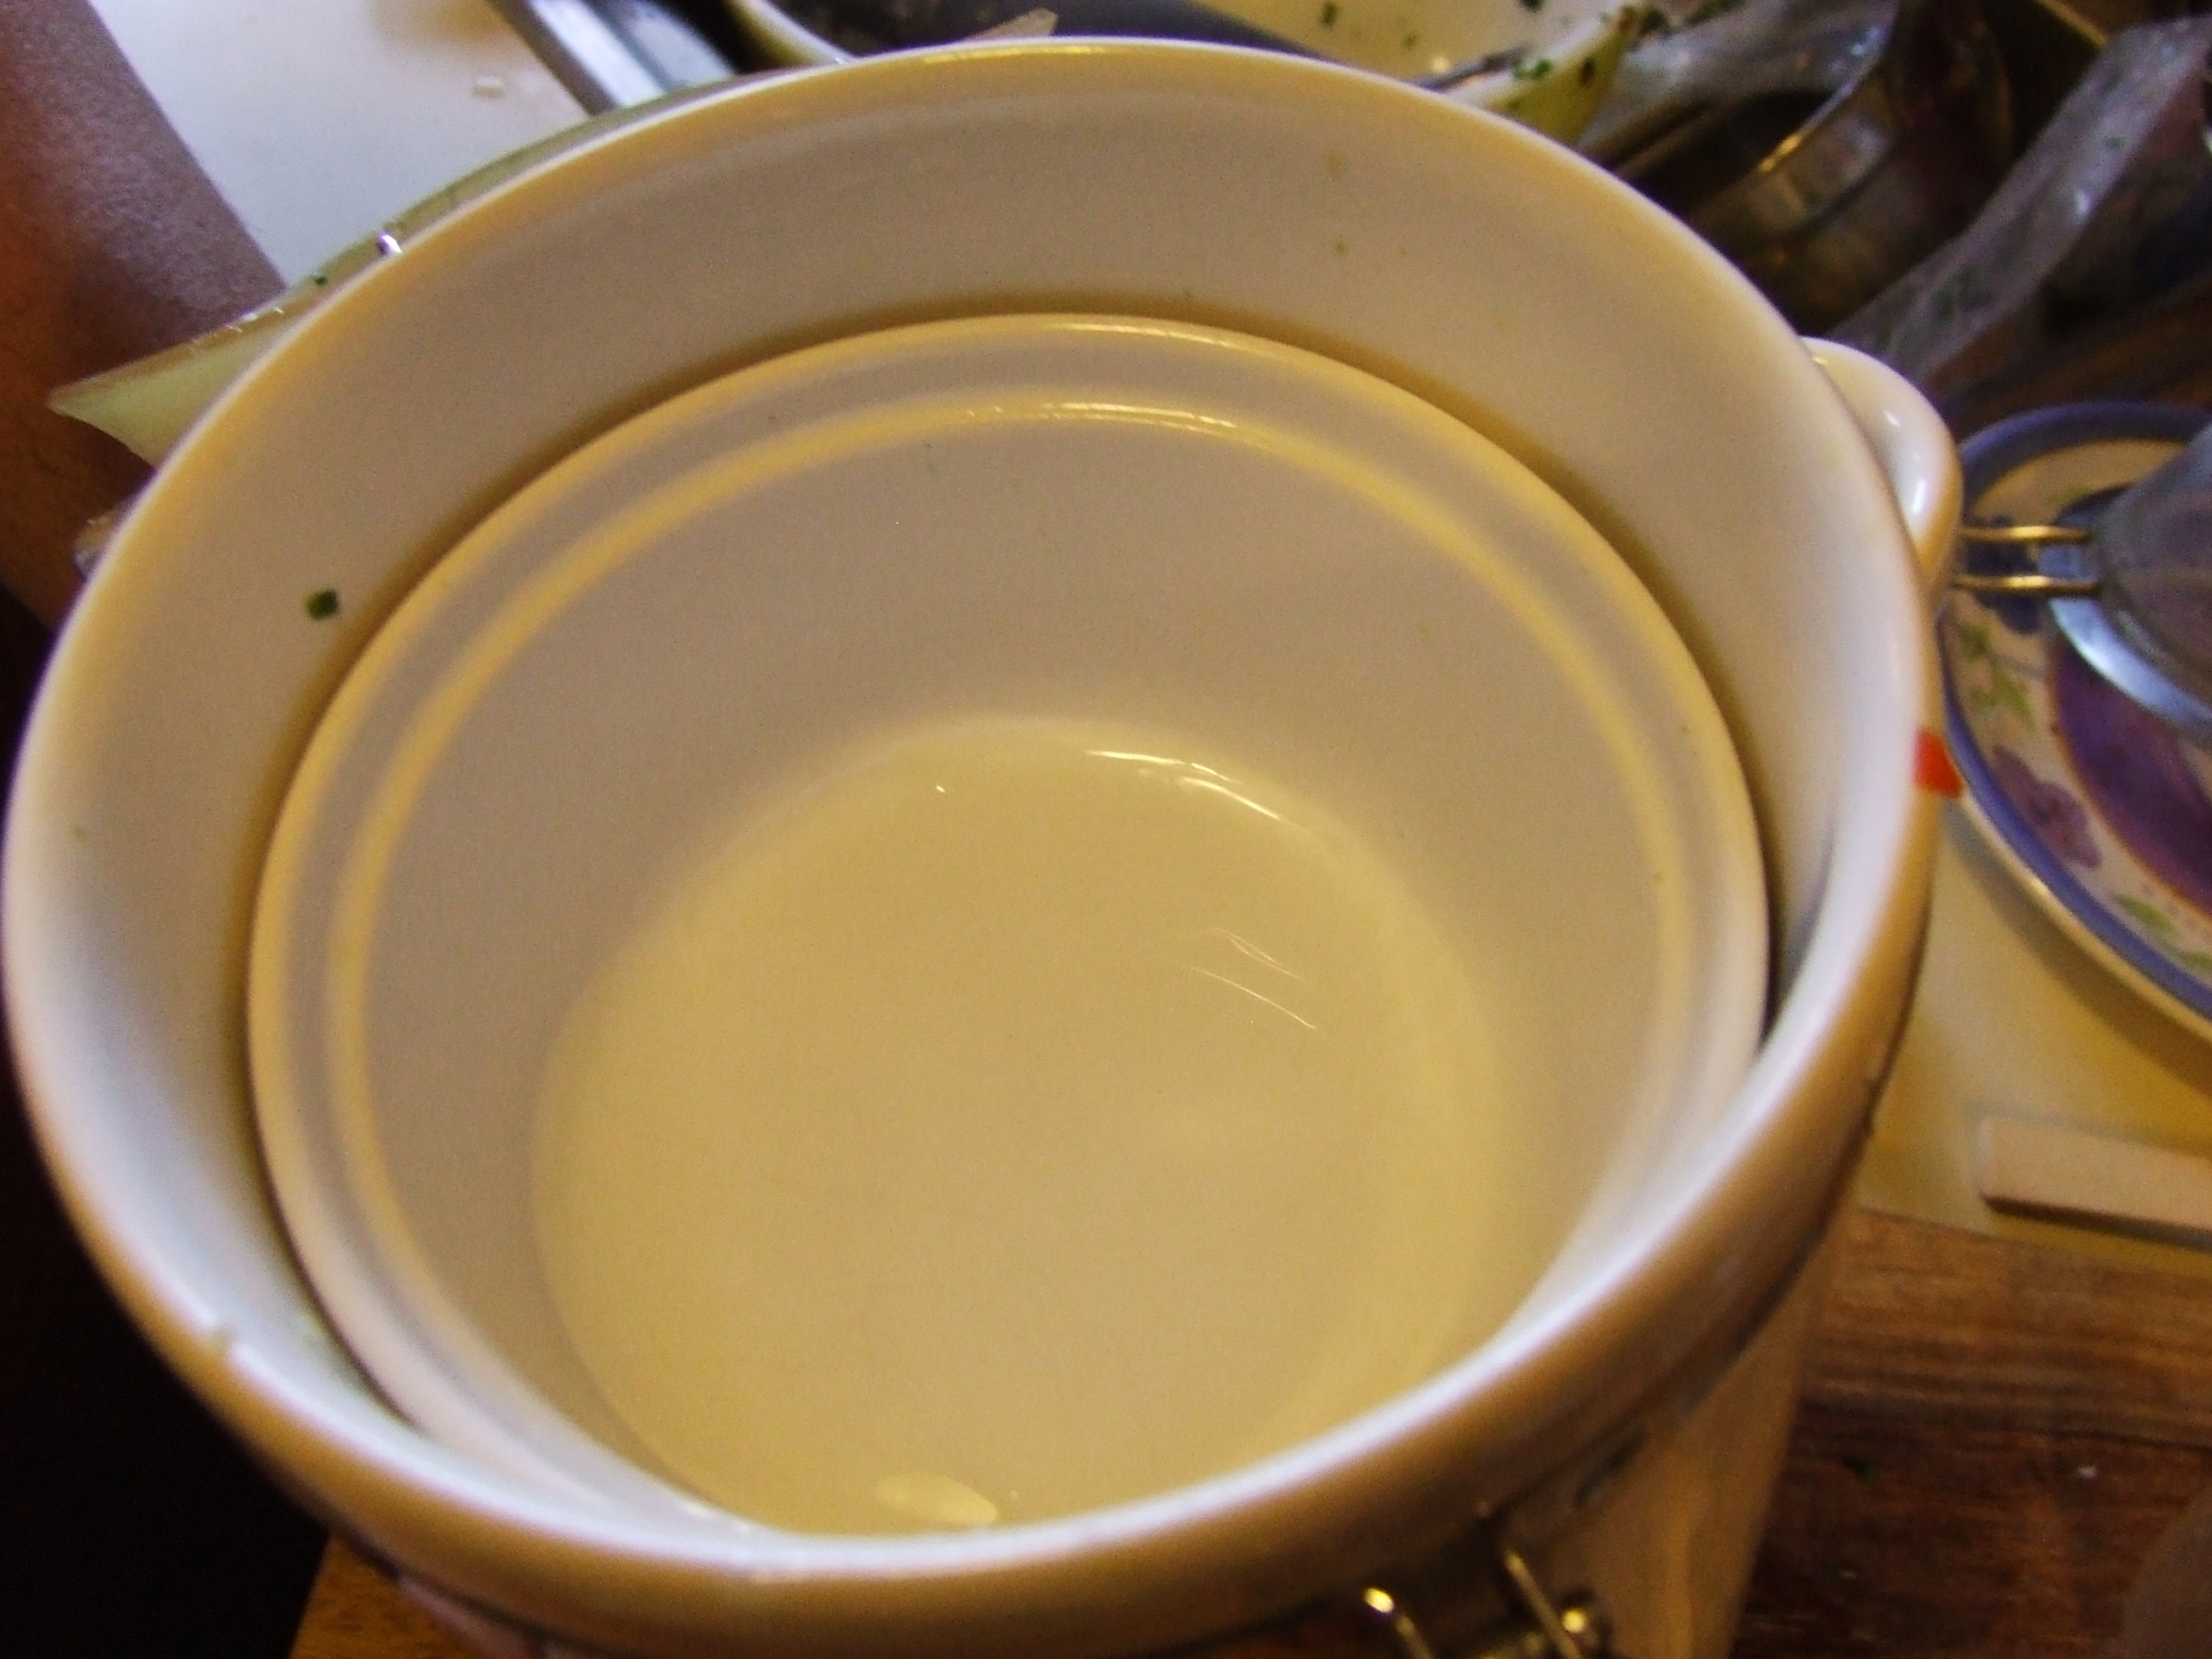
Just let the mixture simmer until most of the moisture has cooked down (about 10 minutes).

Let cool and store in an airtight container in the refrigerator.

What I like to do is pour 1/2 cup portions into my big muffin tin and freeze them. Once frozen I put the disks in a zip lock and they’re ready to use when I need them.
Explore some new flavors. Enjoy.


