Winter Warmup with French Onion Soup

French onion soup sounds like one of those time consuming, only eat it in restaurants kind of dish.  Nothing could be further from the truth.  French onion soup is really easy to make and one of my favorite homemade winter day treats.  So break out the slow cooker and get started.

Slow Cooker French Onion Soup

Ingredients

  • 3 tbsp butter
  • 2 tbsp coconut oil
  • 5 large onions, sliced thinly and separated
  • 1 tsp sugar, divided
  • 3 ½ pints beef broth
  • 4 tbsp ruby port
  • 2 tbsp Worcestershire sauce
  • ½ tsp fresh ground black pepper
  • ¼ tsp salt
  • 1 cup of your favorite melting cheese (provolone and/or mozzarella cheese, swiss, gruyere) grated
  • 6-8 slices sourdough bread, lightly toasted – I like to use a full baguette from the  bakery

Directions

onion soup 002


Cut the onions in half and slice the halves. Sliced Onions


Heat the butter in the slow cooker until melted.

Butter and garlic


Add the onions, cover and cook, on low, until the onions are soft and just beginning to brown.

onion soup 010


Next I add the port, beef or vegetable stock, Worcestershire sauce, salt and pepper. Cover and cook on low for 5 hours.

Divide the soup into individual oven-proof bowls and place the bread slices to cover evenly.onion soup 014 Sprinkle with the grated cheese and put under the broiler about 6-inches from the heat until the cheese is melted and lightly browned, about 2-3 minutes.

Enjoy!

Great Pumpkin Remainders

Just in case no one has noticed, Thursday is Thanksgiving.  You know, the day before Black Friday that actually starts on Thursday which is Thanksgiving.  It’s traditional to post something about turkey, potatoes, gravy or exotic side dishes, maybe even pumpkin pie.

I’m feeling seasonally challenged so I decided to explore some of the other ways to use up that leftover pumpkin puree, starting with breakfast (or as they say in my house, brunch).  There is a deep philosophical divide among family members about how thick or thin pancakes should be.  Some want them fat and fluffy.  I’m more of a crepe, Swedish pancake type.  But, since I’m cooking, I chose the middle path.

Pumpkin Pancakes

Ingredients

  • 1 large egg
  • 1 cup all purpose flour
  • 1 cup milk
  • 1/4 cup pumpkin puree
  • 1 tablespoon sugar
  • 2 tablespoons melted coconut oil
  • 3 teaspoons baking powder
  • 1/4 teaspoon salt
  • 1/4 teaspoon pumpkin pie spice

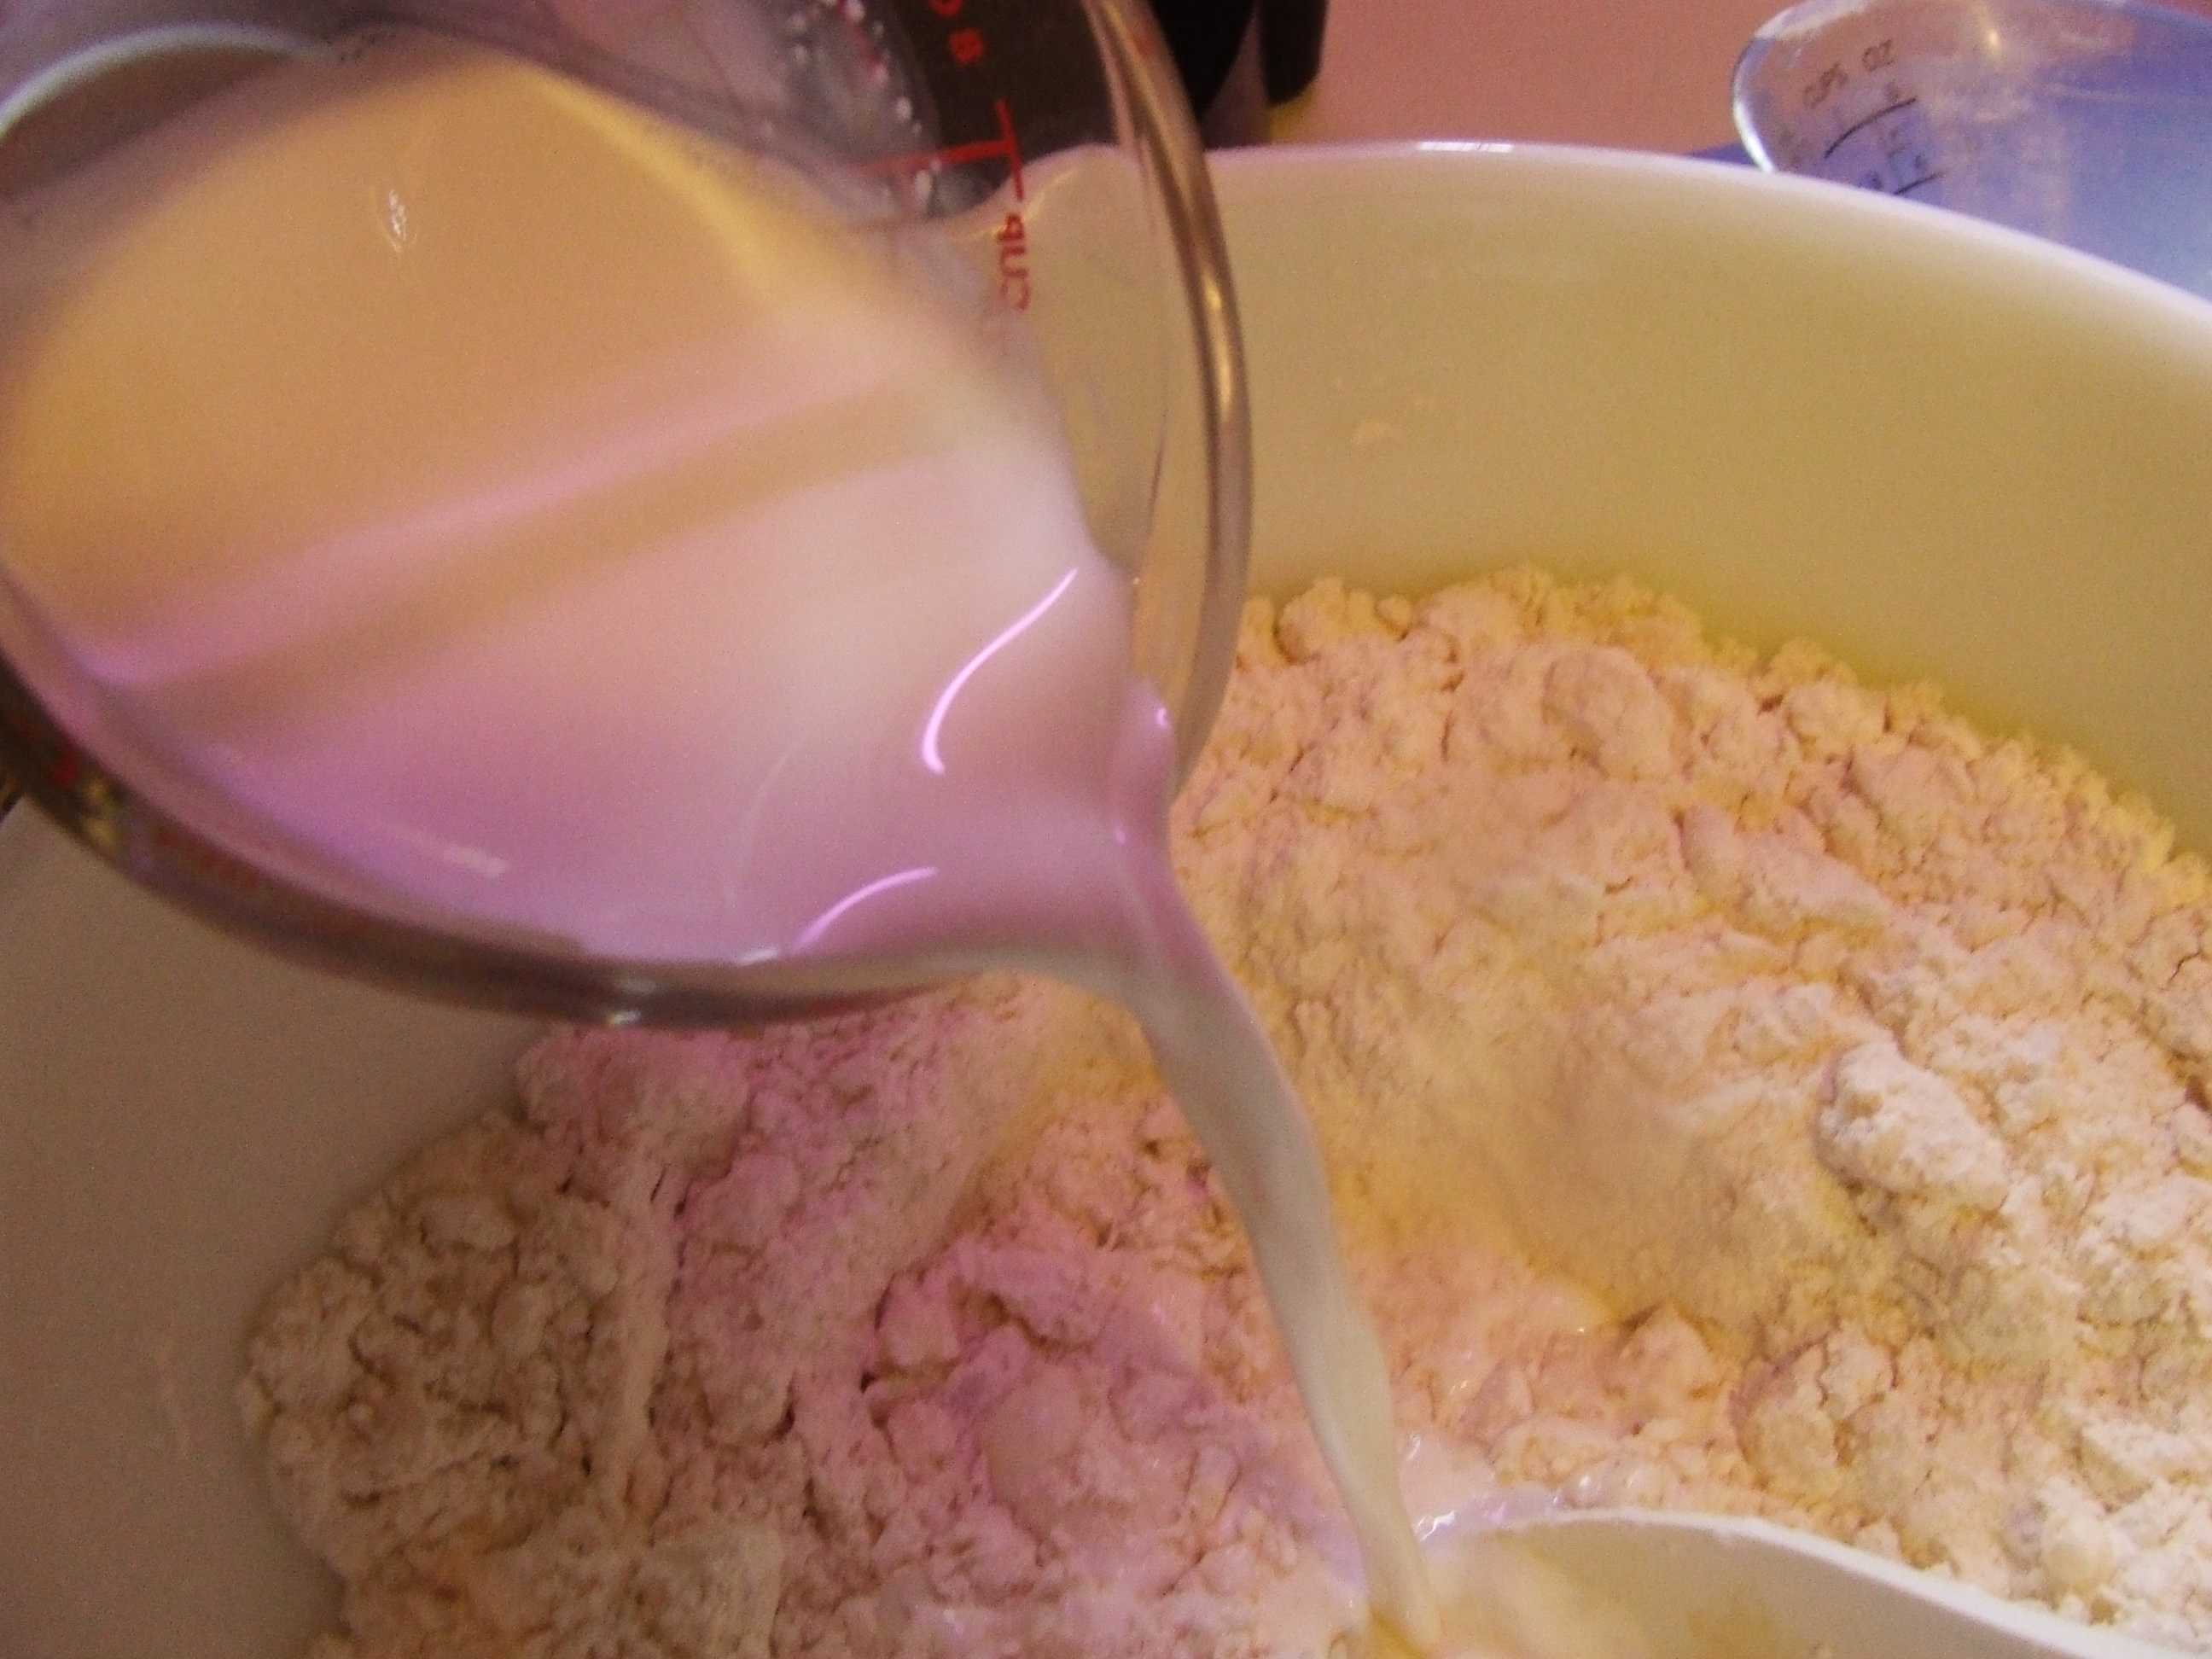
In a medium size bowl or large measuring bowl, beat the egg until fluffy.  Add the pumpkin puree, sugar, milk, sugar, and coconut oil.

Once that is combined, add the flour, baking powder, salt and a sprinkle of pumpkin pie spice.  Mix well to make sure the dry ingredients are incorporated, but leave it a little lumpy.  If you think it’s too thick add a couple of tablespoons of milk.

Pumpkin Pancakes 003

Heat your skillet over a medium heat (about 375 degrees).  Grease with coconut oil, or butter if you prefer.    Pour about 1/4 cup of batter in the center of the pan and swirl the pan to spread the batter.

Pumpkin Pancakes 006Cook until the top is bubbly and the edges are nicely brown.  Turn and cook the other side until golden brown.

Pumpkin Pancakes 010


Fold on the plate, sprinkle with powdered sugar and serve with warm maple butter syrup.

Pumpkin Pancakes 013


Up next is something different that could accompany breakfast, lunch or dinner.

Savory Pumpkin Popovers

Pumpkin Popovers 011

Now, I know Martha Stewart says if you don’t have a popover pan, just cut little bands of parchment paper and make these cute little cup extenders for your muffin pan.  Sounds great but I don’t have an army of interns sitting around measuring, cutting and stapling, so my recommendation is just spring for the $16 popover pan at Bed, Bath and Beyond, or do what I did and use the muffin tin.  The popovers won’t be as tall or impressive, but they will turn out just fine.  Please note there is no added sugar, so these are perfect to serve with lunch or dinner, or as a breakfast bread.

Ingredients

Pumpkin Popovers 004


  • 2 large eggs
  • 1 cup milk
  • 1 tablespoon melted coconut oil
  • 1 cup all purpose flour
  • 1/4 cup pumpkin puree
  • 1/2 teaspoon pumpkin pie spice
  • 1/2 teaspoon salt

Heat your oven to 375 degrees.  Generously grease the popover pan or muffin tin.  Put in the oven to heat.

Whisk together the eggs, milk, and pumpkin puree in a large bowl.  Stir in the melted coconut oil.

Pumpkin Popovers 006

Add the flour, salt and pumpkin pie spice. Combine, but don’t over beat or the popovers won’t puff up.

Pumpkin Popovers 007

Remove your muffin tin or popover pan from the oven and fill the cups 1/2 to 2/3 full.   Place in the oven and bake for 45 minutes.  DO NOT OPEN THE OVEN until ready to remove.


Serve with butter, honey, maple syrup or peanut butter.

Pumpkin Popovers 009

Enjoy and Happy Thanksgiving!    Ε


A Baking Powder Chronicle: Heavenly Biscuits

Every young girl growing up in the South is expected to master the first kitchen sacrament: making biscuits.  I think I was 12 when I decided to make my first batch of biscuits.  I dug out my mom’s Victory Cookbook and gathered the ingredients.  As luck would have it my Uncle Charlie was visiting and when he heard that I was making biscuits for the first time, he eagerly volunteered to eat them.  It was an act of bravery on his part and a pivotal moment in my life as a cook.  I was an enthusiastic, but not very experienced, baker and I worked that biscuit dough for all it was worth.  The biscuits came out of the oven looking like rocks.  When I set the plate down in front of my uncle, he picked one up, smeared some butter on it and popped it in his mouth.  As he crunched up the biscuit, my mom started to laugh.  Uncle Charlie responded, with a mouthful of stone biscuit, “if any little girl wants to learn to make biscuits, by God, somebody should eat them”.  He finished the whole plate.  Sometimes love is eating a bad biscuit.

I knew the biscuits were awful but I was encouraged enough to keep trying. Today, I’m happy to say, I make a great biscuit.  My recipe has evolved over the years; but here’s the result of my uncle’s act of love all those years ago.

Heavenly Biscuits

Coconut Oil Biscuits 006

Ingredients
  • 2 cups all purpose flour
  • 1 tablespoon sugar
  • 3 teaspoons baking powder
  • 1 teaspoon salt
  • 1/2 cup coconut oil (this is the secret ingredient)
  • 3/4 cup milk
Directions

Preheat your oven to 450 degrees.

In a large bowl, combine the dry ingredients.

Biscuit Ingredients

With a pastry blender, a fork or your fingers cut in the coconut oil until the mixture looks like fine crumbs.  Biscuits 10


Stir in the milk until blended and the dough no longer sticks to the side of the bowl.

Biscuits 12


Biscuit dough should be wet and sticky.

Mixing Biscuits 2


 In the same bowl (I hate flour covered countertops) sprinkle the dough with a little extra flour and dust your hands with flour.  Gently knead the dough (biscuit dough is sensitive, don’t beat it up).  Knead about 10 times, just until you can form a ball of dough.

Mixing Biscuits 4Place the ball of dough on a silpat mat. Parchment paper or wax paper will also work.   With your hands, gently flatten the ball until it is about 2 inches thick.  Yes, this is thicker than the recipe books say, but trust me, you’ll like it.


With a 3-inch biscuit cutter, (I used a beer glass) cut out the big thick biscuits.  This recipe will make about 6 big, fluffy biscuits.

Cutting Biscuits


I just arrange them on the silpat mat, slide it onto my baking sheet and put them in the oven.  Or, place the biscuits on an ungreased baking sheet.

Baking Biscuits


Bake for a good 12-15 minutes, or until the biscuits are a beautiful golden brown.

Biscuits 14

I guarantee you’ll never eat rolled package biscuits again.       Ε


Fermented Vegetables: Delicious and Nutritious

We closed up the garden a couple of weeks ago and did a final harvest. Now the decision is what to do with end of the season vegetables.  I’ve been reading a lot lately about the probiotic nutrition in fermented vegetables and thought this would be a great opportunity to try my hand at a new way of preserving foods as well as saving money.  (Have you seen the price for probiotic supplements?)   Fortunately this isn’t a complicated process.

I started with the most essential vegetable for fermenting:  cabbage (set aside a couple of the large outside leaves to cover the vegetables during the fermentation process, cabbage


followed by the last of the collards. Collards


To this base I added an assortment of vegetables that were languishing in the refrigerator and pantry: cucumbers, carrots, tiny squash, red bell pepper, some garlic and a few slices of pickled ginger.  There’s no real rule here, just use what you like and what you have.  It all goes into the food processor for a medium fine chop.


Fermented Foods 003Sprinkle with some kosher or canning salt (any kind without iodine) and let the chopped vegetables drain.  I didn’t really measure this, but one source said that 3 tablespoons salt to 5 lbs of vegetables should be about right.  After about half an hour, squeeze out as much water as possible and pack tightly into a glass or ceramic container with a tight fitting lid.

I found this one at the thrift store for $3 and replaced the rubber lid casket.  Works great.

Pack the vegetables down tightly (I use a big wooden spoon) a little at a time.

In a 2 cup measure, add 1 3/4 cup filtered or distilled water.  I add whey to speed up the fermentation process (I use the whey drained off the plain Greek yogurt which seems to work well, but you could use a probiotic starter that you can purchase.)   You don’t have to use the whey, some people just use the salt and the natural bacteria from the vegetables for the fermentation process but I like the added tang that the whey adds.

Pour the mixture over the tightly packed vegetables making sure the liquid completely covers the vegetables.  Fold the cabbage leaves you set aside earlier and place on top of the vegetable mixture.  Place a heavy weight (I used a ceramic cereal bowl) on top of the cabbage leaves and place the lid tightly on the jar. Fermented Foods 006Fermented Foods 008 And that’s it.  Set it on the counter inside another dish or pan to catch any residue from the fermentation.  Once a day, lift the lid and replace it.  I like to let my veggies ferment for at least 7 days, but it depends greatly on your personal taste.   When you think they’re ready to eat, spoon the fermented yummies into clean (sanitized in dishwasher) glass jars and put in the refrigerator. Fermented Foods 001 The vegetables will continue to ferment (slowly) in the refrigerator.  In addition to being delicious, fermented foods are a great way to keep your digestive system and your entire body healthier.   Enjoy!        Ε